Thursday, July 15, 2010

Cook It: Quiche

Have you figured out yet that I like flexible recipes... I love a recipe that has the same base and the flexibility to switch the flavors! This is a great flexible recipe.

Ingredients:
1 pie crust (uncooked)
8 eggs
1/4 cup flour
1/4 cup milk
salt and pepper to taste
assorted fillings (spinach, sausage, ham, bell peppers, broccoli, mushrooms, potatoes, bacon, cheese, etc.)

Preheat oven to 400*

In a bowl, combine eggs, milk, flour, salt and pepper.

Precook any meat you are adding.

Add all veggies/meat/cheeses to the egg mixture.

Pour into your pie crust.
Bake at 400* for 30-60 minutes, until your eggs are set and crust is done. The more fillings, the longer it will take. The filling shouldn't juggle when the pie is moved.

Enjoy!

Tuesday, July 13, 2010

Make It: Party Coffee Sleeves

For my daughters first birthday party, we had a brunch... and I new I wanted to serve coffee, but I didn't want to run around all day looking for coffee cups, nor did I care to spend the money I figured it would cost to get them. So instead, I purchased a pack of $1 paper cups and a few pieces of $0.25 felt to create coffee sleeves!

First, using an old coffee sleeve, measure how large you will need your new sleeve to be (remember to leave a little overlap).

Make a new template out of paper. This shows that my new template was just smaller than the original. Also, make sure to taper one end so it will hide nicely when glued in place.

Pin your template onto your felt and cut.

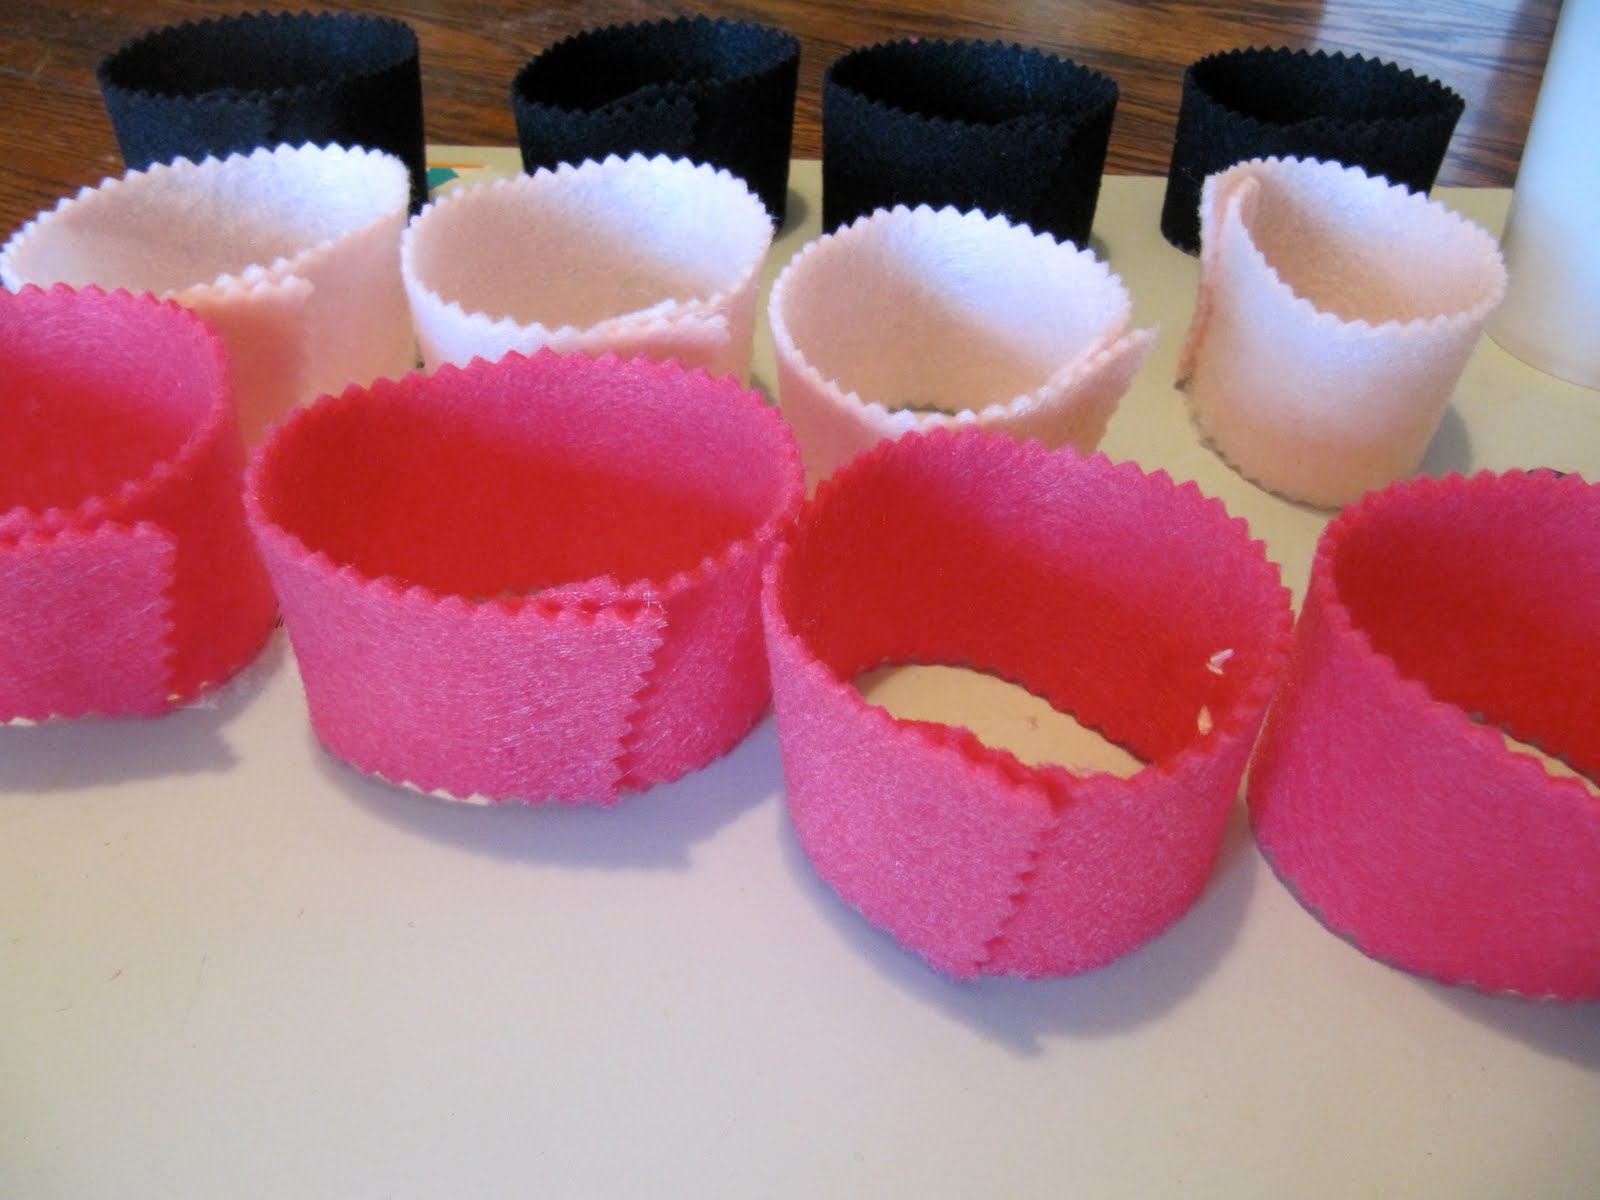
I did mine in a few colors.
I also cut them with pinking shears to give them a little more character.

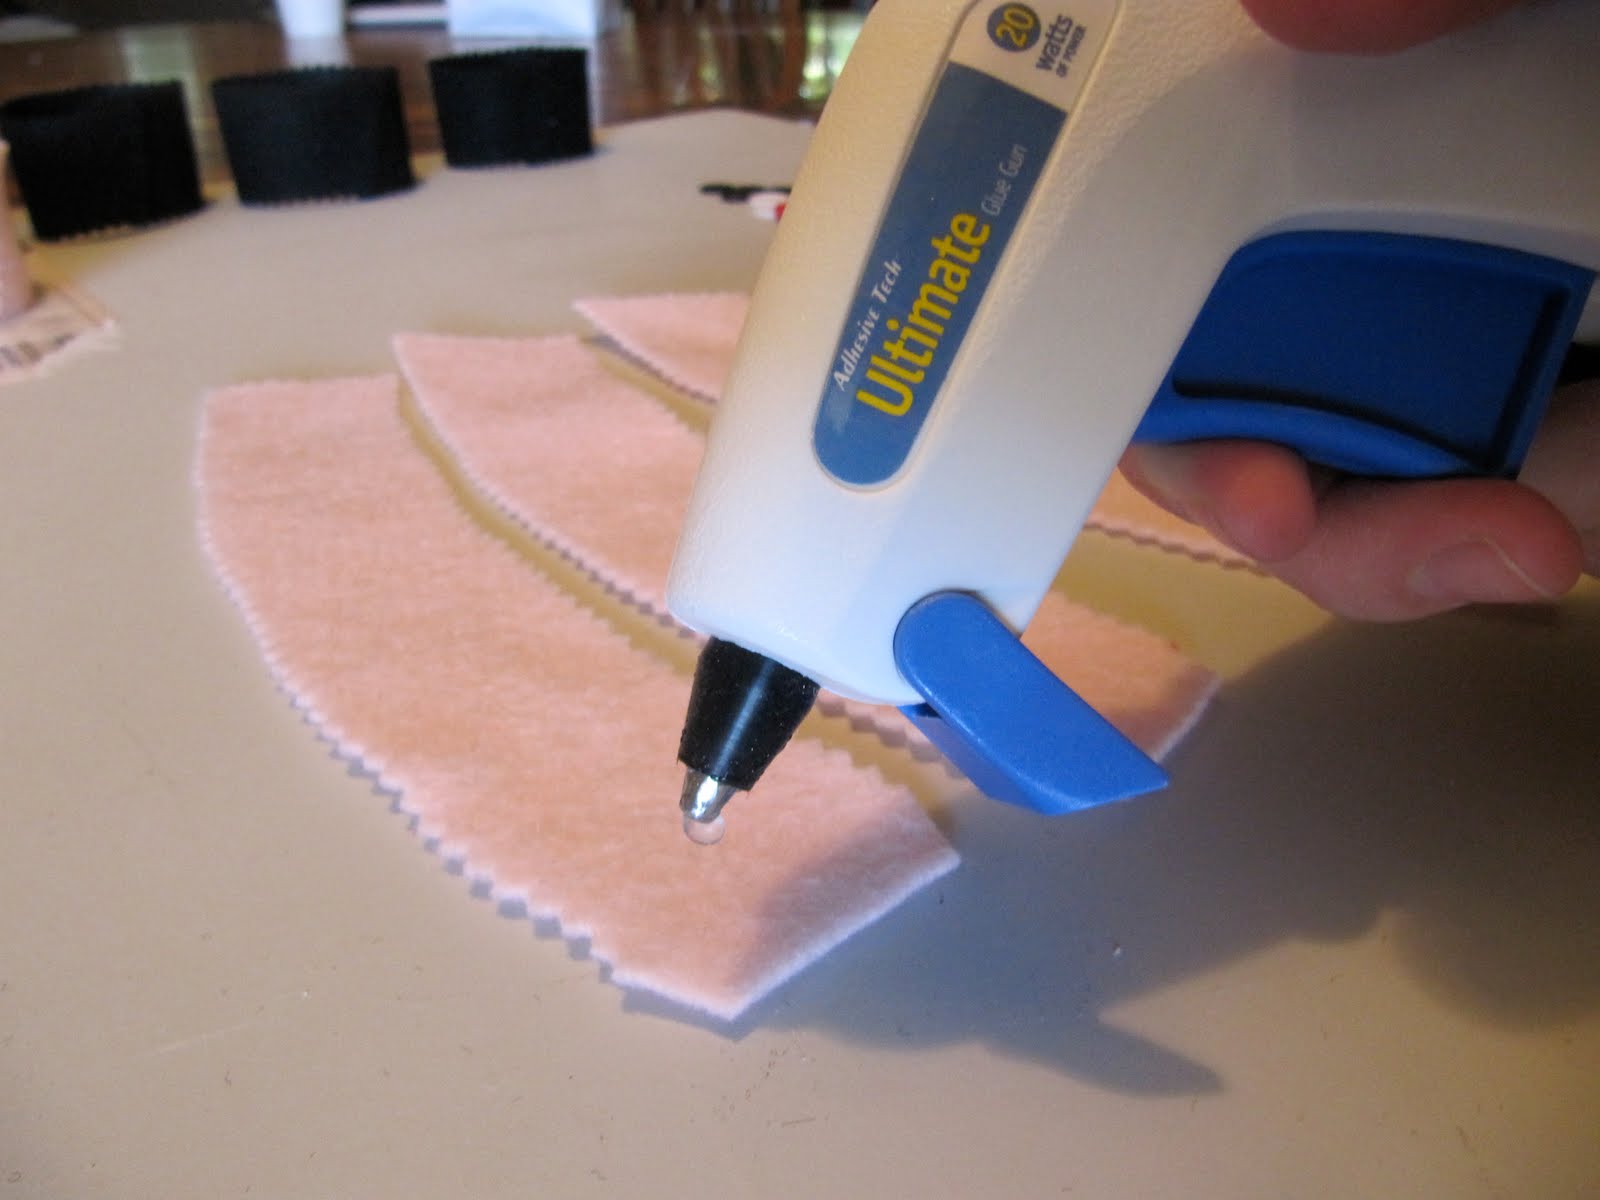
Apply a line of glue to the tapered end and then loop the other end around and create a little circle sleeve.

Once the sleeves are glued shut, add a little flare!

I used buttons and rhinestone stickers I had on hand.

Let them dry for a few minutes...

These are way cuter than the paper coffee cups with those funny little handles on the side!

A little army of coffee sleeves ready to protect hands from too-hot brew!
Enjoy!

Saturday, July 10, 2010

Fourth Cupcakes....YUM!

Just a little peek at one of the treats we had on the Fourth... vanilla-vanilla cupcakes! Yummy!

Thursday, July 8, 2010

Cook It: Green Chicken Enchiladas

This recipe is similar to the red enchilada recipe my hubby likes. However, this is my preferred recipe for enchiladas.
I used the left over roast chicken that I had pulled from the bone for this, so I didn't have to cook new chicken.

Ingredients:
1 can green enchilada sauce
1 block cream cheese
2 cups shredded/chunked pre-cooked chicken
1-2 cups shredded cheese
10ish corn tortillas torn into pieces

Melt the cream cheese with the green enchilada sauce over medium heat.

Add the chicken to the sauce.

Line the bottom of your pan with pieces of corn tortilla.
Layer tortilla, sauce, cheese. I typically like 2-3 layers, ending with cheese on top.

Bake at 350* for 30 minutes (or until heated throughout).

This recipe freezes well and is a great recipe to double and make a couple dishes... one for now, one for later!

Enjoy!

Tuesday, July 6, 2010

Make It: Car Cozy-Play Mat


I made this little play mat for a friend's son. My friend is having a baby and her firstborn will need something to play with while his mom is in the hospital. This little mat is a great toy/carrier and it folds up super small so she can toss it in her hospital bag and not have to worry about it taking up lots of space. This would also be great for vacation!

You will need:
11x19 piece of inner fabric
11x19 piece of outer fabric
11x19 piece of batting
9x19 piece of pocket fabric
assorted felt for road and play parts
1 inch velcro
6 inches ribbon
assorted sewing notions

Gather all your materials, and get a feel for how you want the mat to look.

Fold the pocket fabric in half lengthwise, and stitch across the fold. This just gives some stability to the pocket. I liked the look and feel of two lines.

Cut out and assemble the play road onto the inner fabric. Only use the top half of the piece. You can stitch the felt on or you can use hot glue.

Pin the pocket onto the play mat with the fold towards the top. Attach the pocket with a single stitch across the bottom.

Measure, and mark 3 inch pocket lines. Make sure your top and bottom marks line up. Stitch across these lines. Make sure to go over the top a couple times to secure the opening of the pocket.

Once the pockets are stitched, it should look something like this.

For the closure strap, you can use ribbon or a scrap of the fabric. Attach velcro to the strap. Pin it to the play mat.
Attach your velcro to the outside fabric. I measured mine at 9 inches in and 3 inches down. This lined up with inside velcro. Make sure to check your velcro to make sure it lines up before you sew... otherwise you might have a date with your seam ripper.

Stack batting, play mat (face up), outer fabric (face down) and pin together.

Stitch all the way around and leave a 4-5 inch opening. Trim your corners. and flip right-side out.

Top-stitch all the way around the whole mat. Make sure to catch your opening and seal it up.

Add some cars to the mat and you have a great little travel-friendly toy!

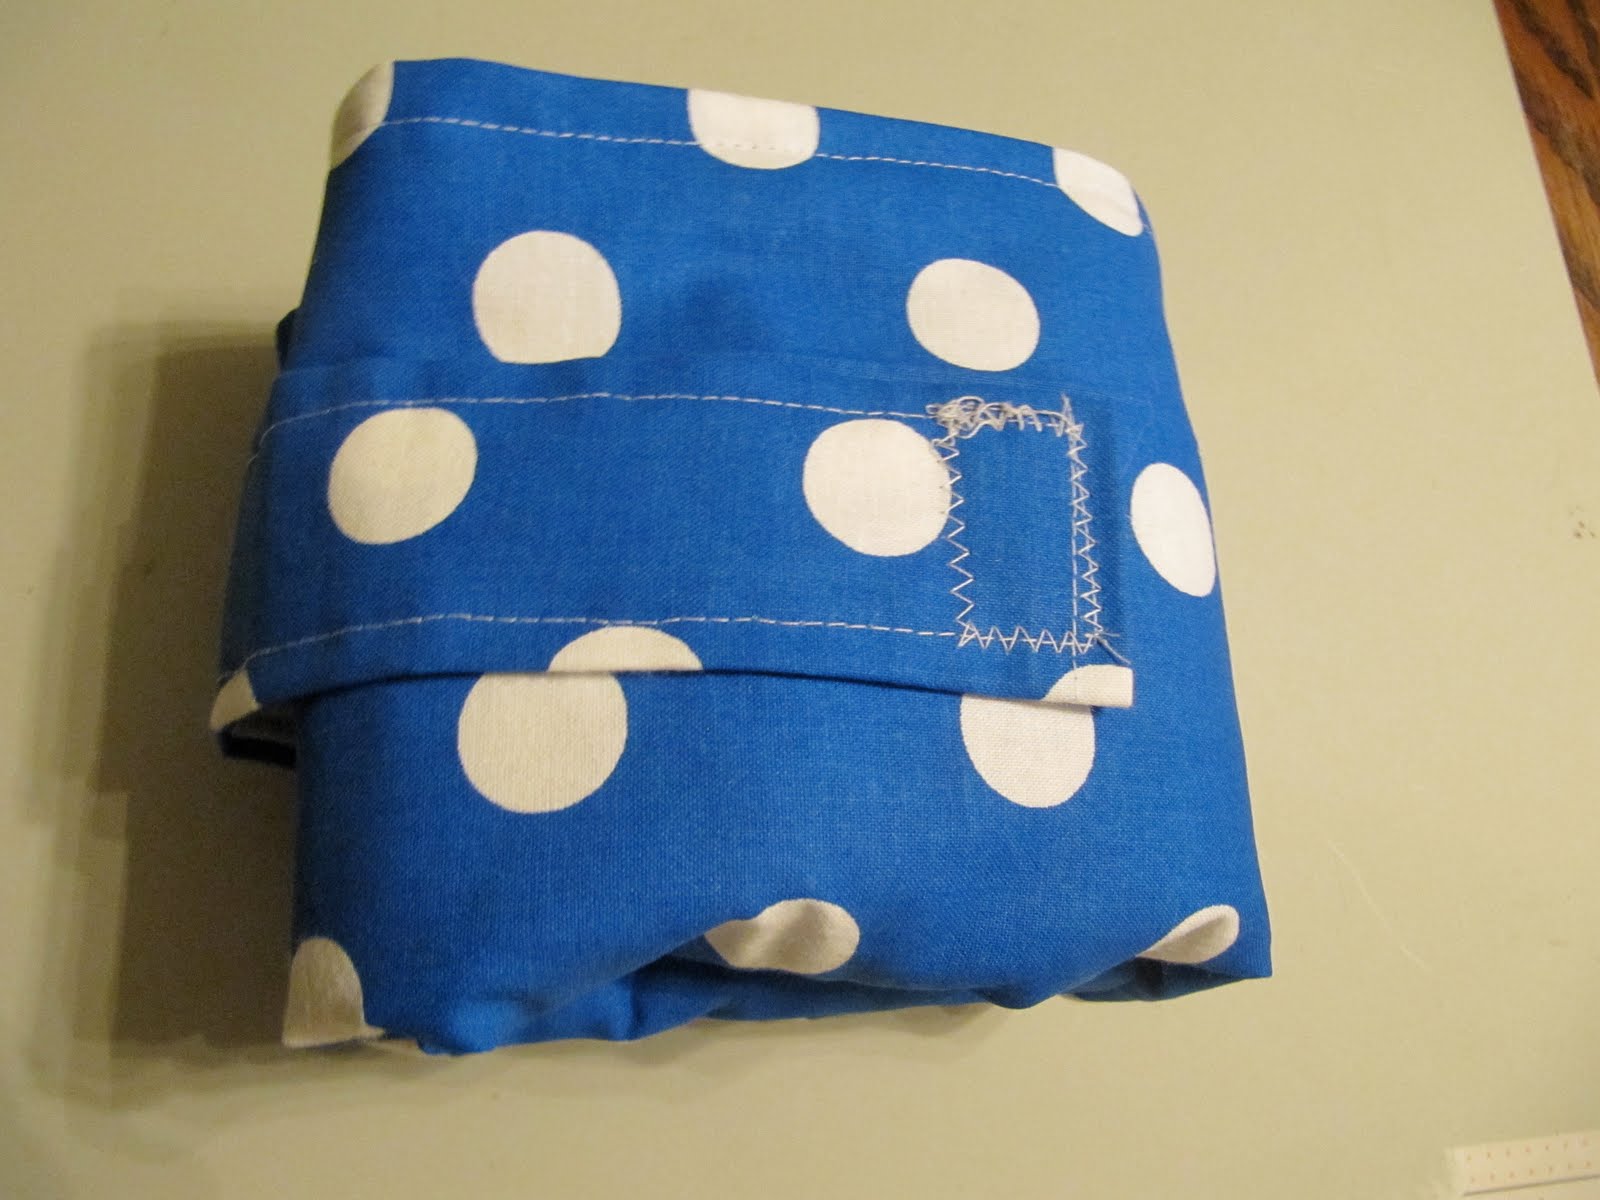
They roll up so nicely!

Enjoy!

Thursday, July 1, 2010

Cook It: Chicken Noodle Soup

You may be wondering if I realize it is summer (soup is a winter thing)... and the answer is... YES... with the temperature hovering around 99* it is too hot to cook anything in the oven... so I try to do as much croc-pot cooking as possible! This is a super easy recipe for croc-pot cooking!

Ingredients:
sliced carrots
sliced celery
shredded/cubed chicken (pre-cooked... use your left over roast chicken)
chicken broth (or water with bullion)
egg noodles
All ingredients are as much as you please... so if you like more carrots, then add more carrots.

Place your carrots and celery in the bottom of the croc-pot.

Top with your chicken.

Add enough broth to mostly fill the pot.
Cook on low for 6 hours or so. In the last 20 minutes, add the egg noodles. You can also boil the noodles on the stovetop and then add them in as you serve. This keeps them from getting too soggy.

Mmm... Chicken Noodle Soup.... and no hot oven running!
Enjoy!

Tuesday, June 29, 2010

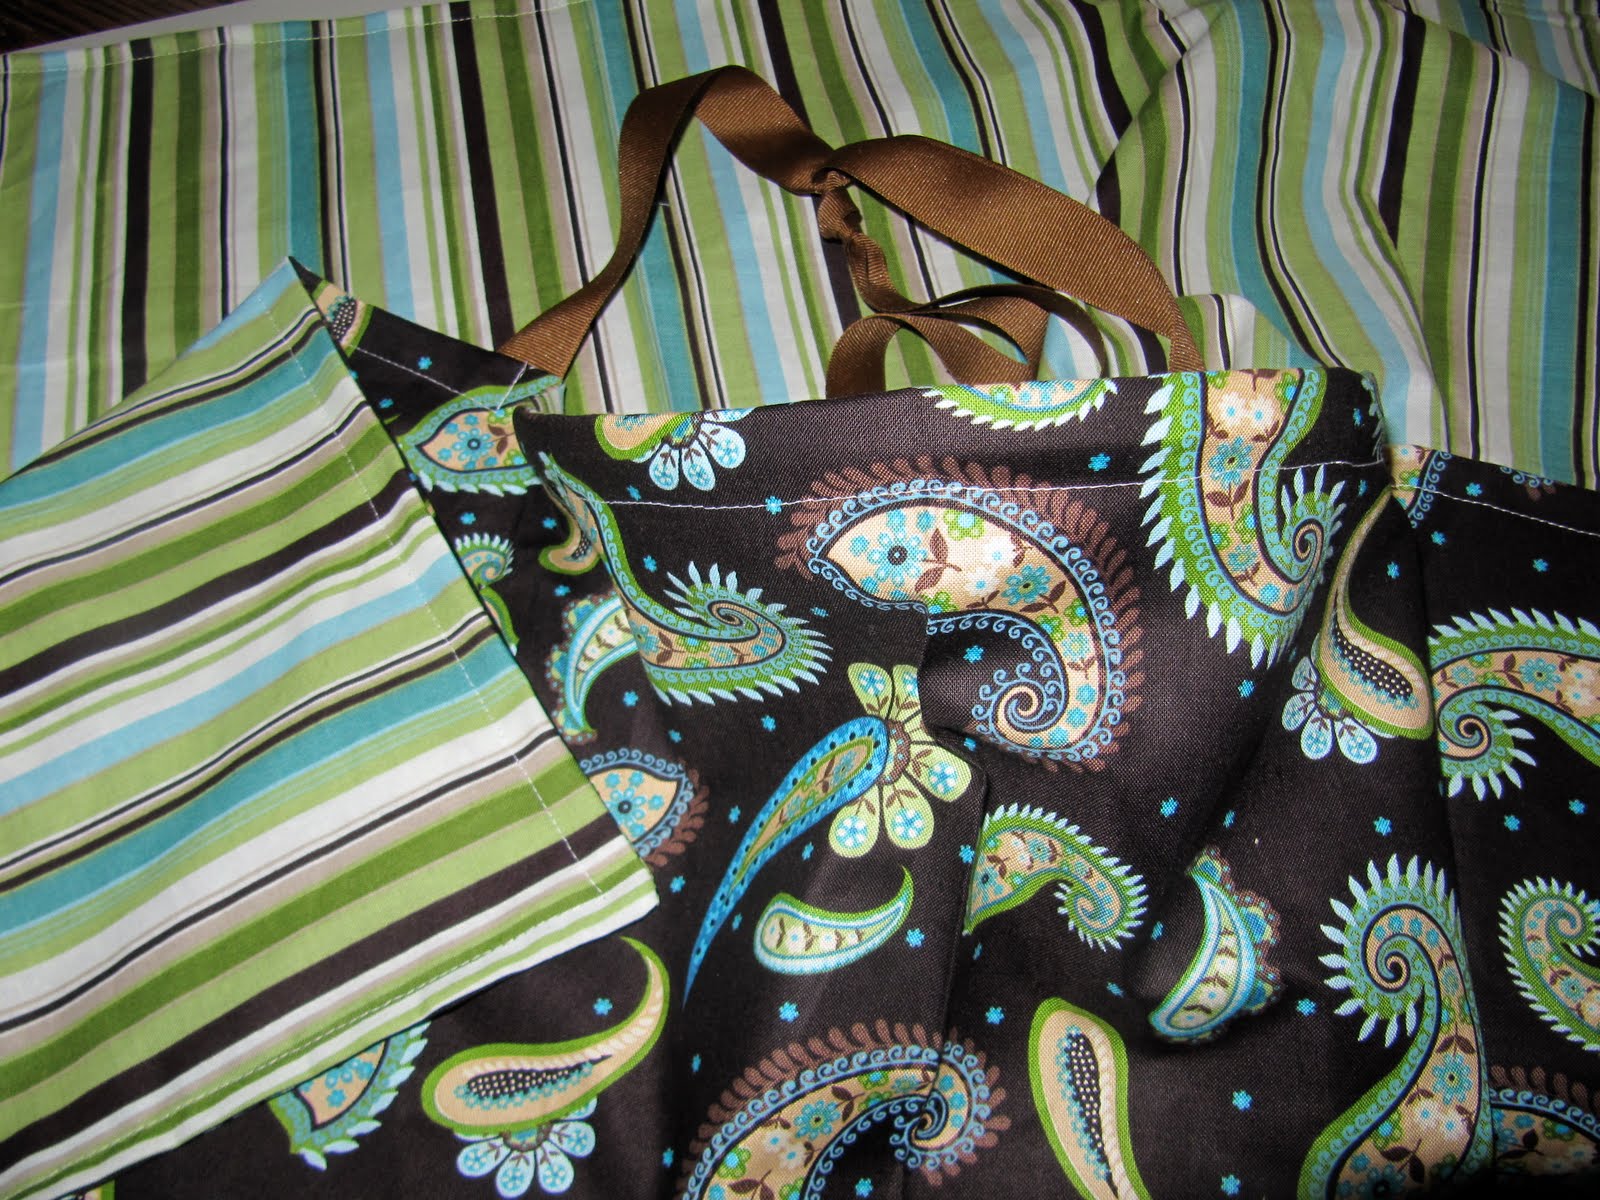
Make It: Hooter Hider

With my daughter, there have only been a handful of times that I have needed to nurse in public. But, I did pump... everywhere. I pumped in the car, at the hospital, at home, at Disneyland, all over the place. And I used the heck out of my hooter hider... both pumping and nursing. I loved using it for pumping, since I already felt like a cow... it was nice to have a little coverage. And when I was nursing, it helped me not feel like I was going to over-expose myself... and, since I often felt uncoordinated with nursing in public, it was nice to be able to focus my hands on nursing and not have to worry about holding a blanket in place.
So, these little covers are fantastic. They can double as a burp-cloth or blanket in a pinch, and they take up next to no room in a diaper bag. They are washable and I loved mine!

Ingredients:
3/4 yard of front fabric
3/4 yard of back fabric
*I always just buy 1.5 yards and make 2 at the same time!
20 in. coordinating ribbon
16 in. featherlite boning (this is like $4 a box and it is sold with the clothing-notions)
sewing machine, thread, needles, pins, etc

Pin your fabrics together with right sides in. On one of the long sides, measure 8 inches from the center (in both directions) and slide your ribbon inside and pin it in place. The end of the ribbon should be pointing out. This will make the strap when you flip it right side out. There should be 16 inches between the two ends of the ribbon.
Stitch around the whole cover, leaving a 6-ish inch opening.

Trim your corners.

Turn right side out.

Measure out 16 inches of boning. It will go in between the two ends of the ribbon. Make sure the curve goes towards the front, so when you wear it, it will pop out from your chest and you can look down inside.

Insert the boning through the opening. Pin it in place right between the two ends of the ribbon up against the top of the cover. When you top stitch, use a 1/2 inch allowance to make sure to secure it in place. Also, stitch up at each end of the boning to keep it from sliding back and forth.

Top stitch all the way around, closing the opening and giving your hooter hider a nice finished look! If you zoom in, you can see where I stitched up from the top stitch to the edge at the end of the boning to hold it in place.

And now, you can nurse in public without exposing yourself!
Enjoy!