With my daughter, there have only been a handful of times that I have needed to nurse in public. But, I did pump... everywhere. I pumped in the car, at the hospital, at home, at Disneyland, all over the place. And I used the heck out of my hooter hider... both pumping and nursing. I loved using it for pumping, since I already felt like a cow... it was nice to have a little coverage. And when I was nursing, it helped me not feel like I was going to over-expose myself... and, since I often felt uncoordinated with nursing in public, it was nice to be able to focus my hands on nursing and not have to worry about holding a blanket in place.
So, these little covers are fantastic. They can double as a burp-cloth or blanket in a pinch, and they take up next to no room in a diaper bag. They are washable and I loved mine!

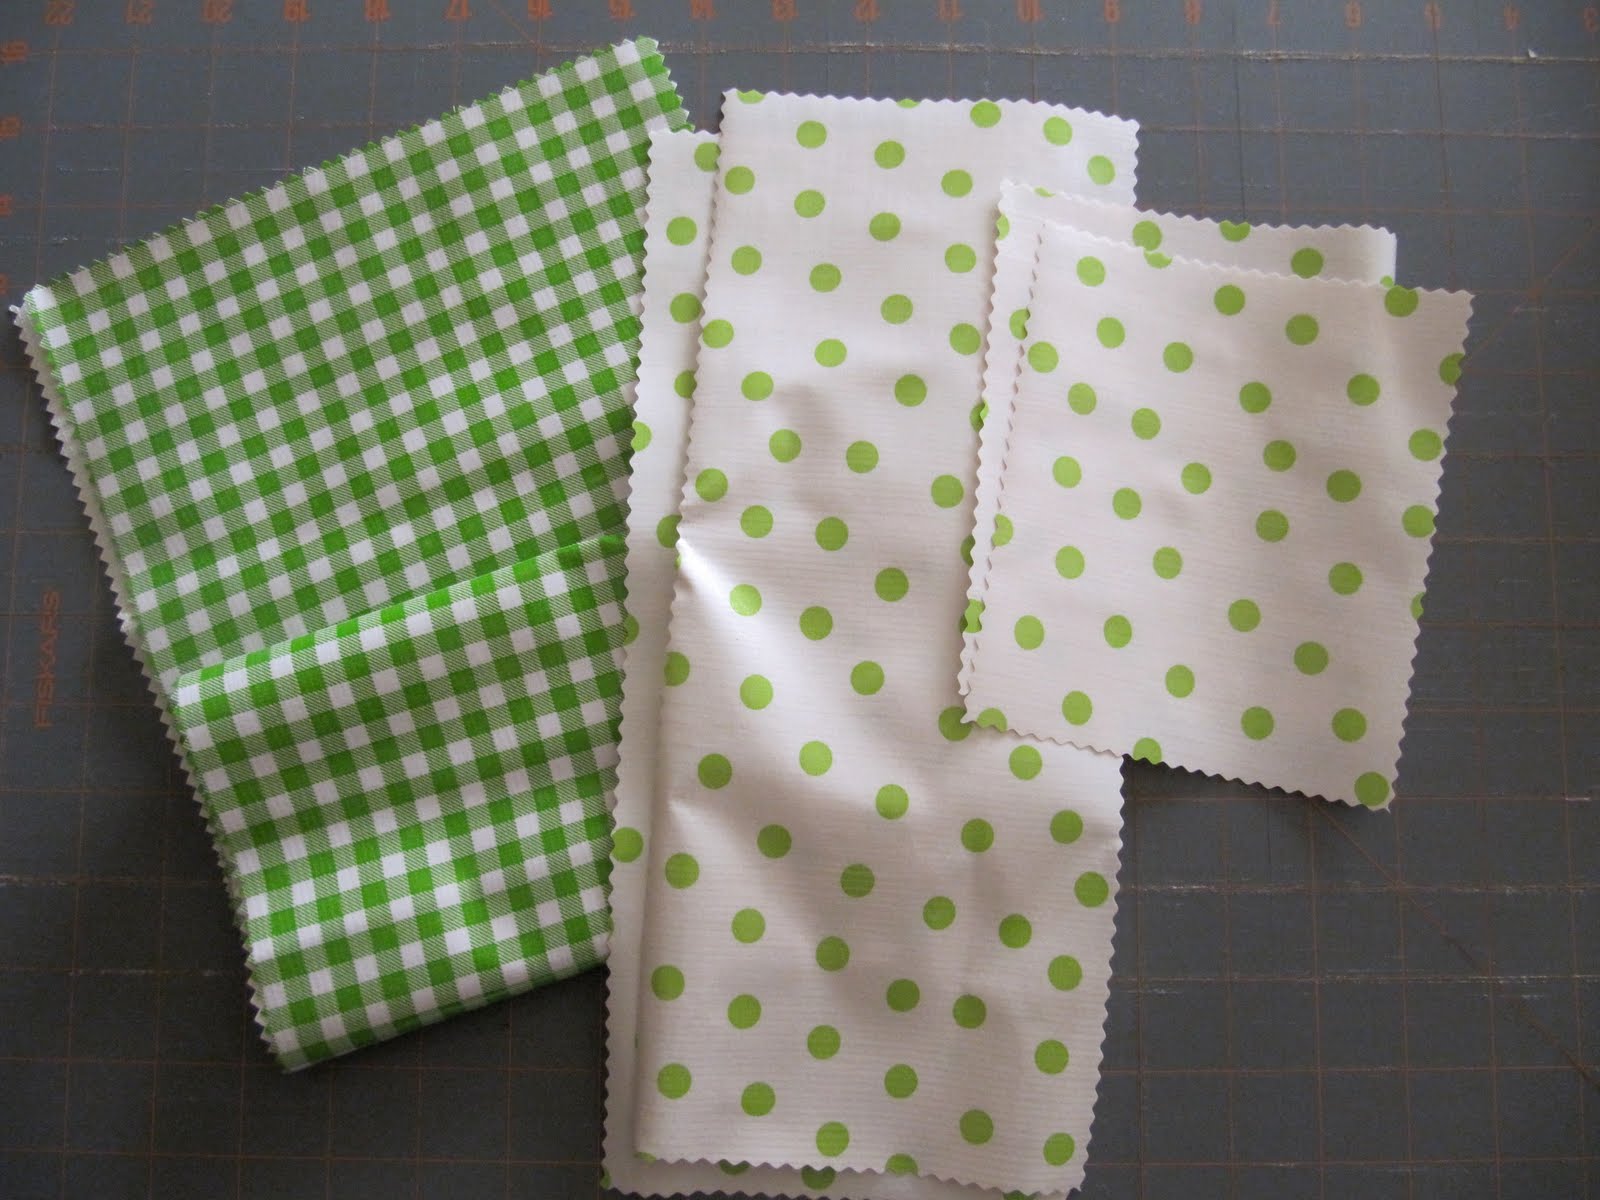
Ingredients:
3/4 yard of front fabric
3/4 yard of back fabric
*I always just buy 1.5 yards and make 2 at the same time!
20 in. coordinating ribbon
16 in. featherlite boning (this is like $4 a box and it is sold with the clothing-notions)
sewing machine, thread, needles, pins, etc

Pin your fabrics together with right sides in. On one of the long sides, measure 8 inches from the center (in both directions) and slide your ribbon inside and pin it in place. The end of the ribbon should be pointing out. This will make the strap when you flip it right side out. There should be 16 inches between the two ends of the ribbon.
Stitch around the whole cover, leaving a 6-ish inch opening.

Trim your corners.

Turn right side out.

Measure out 16 inches of boning. It will go in between the two ends of the ribbon. Make sure the curve goes towards the front, so when you wear it, it will pop out from your chest and you can look down inside.

Insert the boning through the opening. Pin it in place right between the two ends of the ribbon up against the top of the cover. When you top stitch, use a 1/2 inch allowance to make sure to secure it in place. Also, stitch up at each end of the boning to keep it from sliding back and forth.
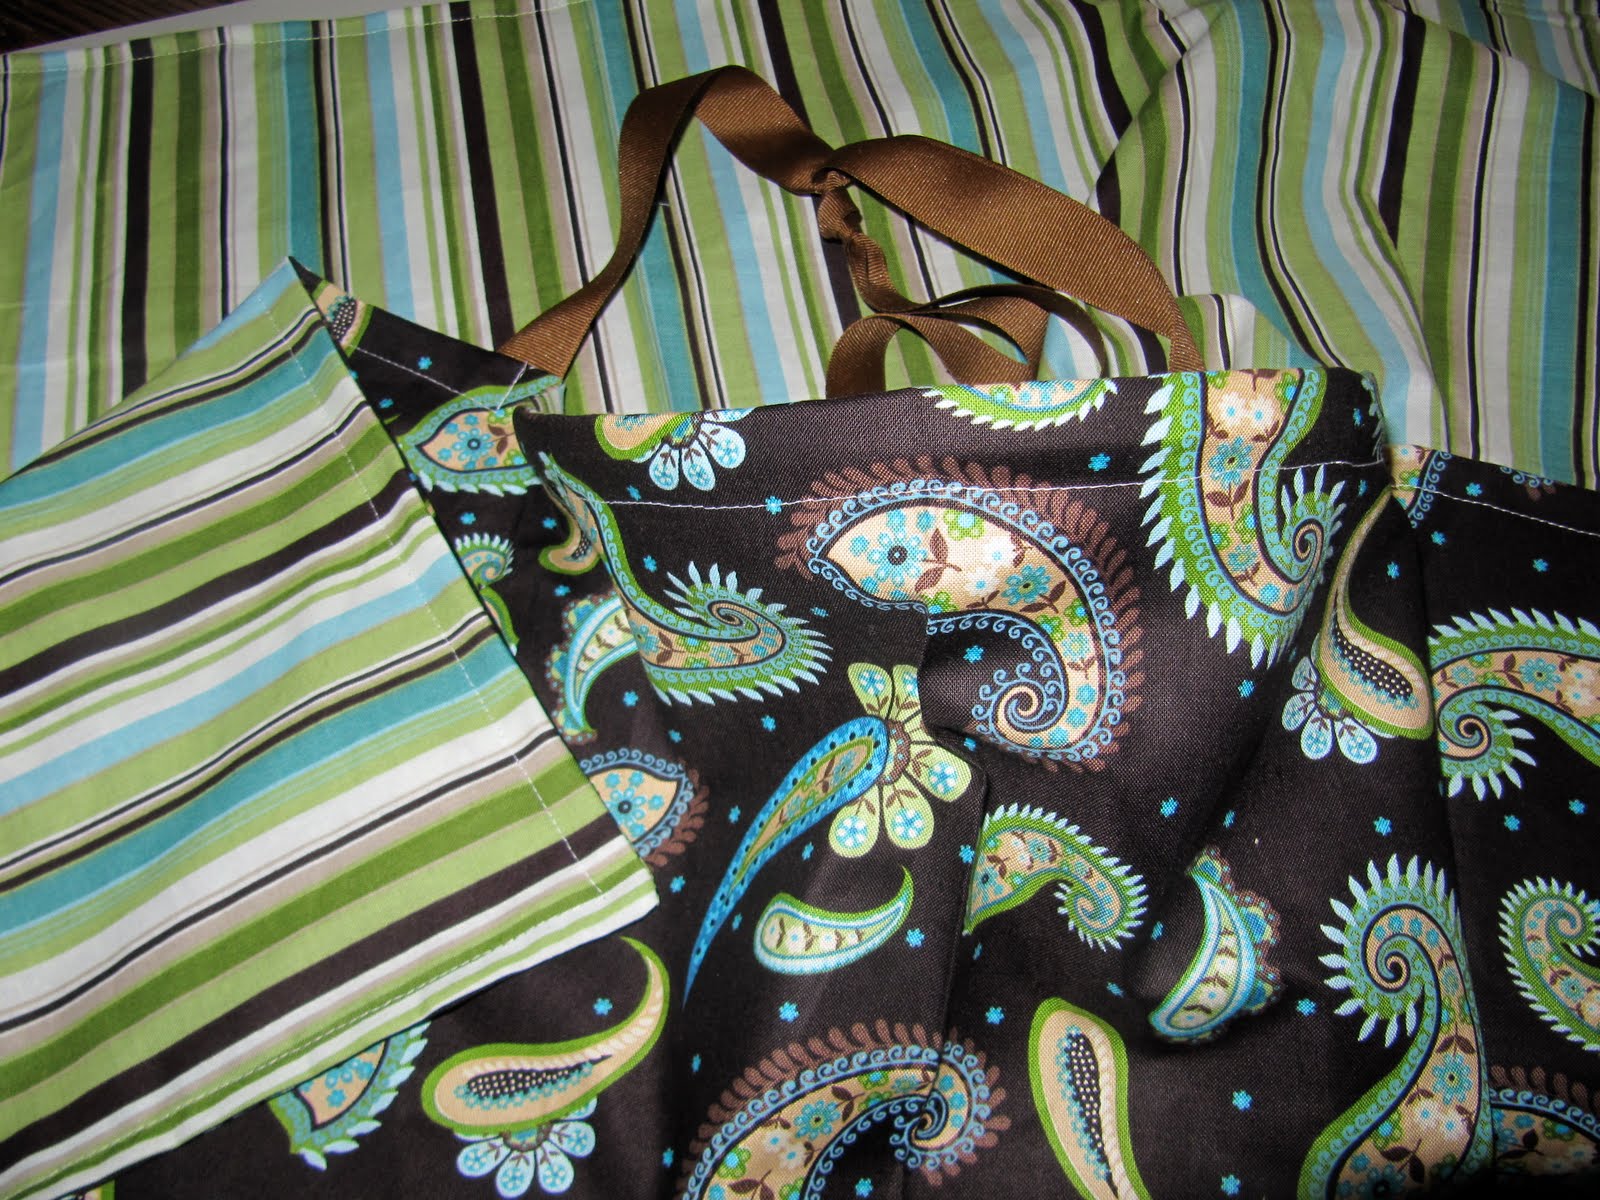
Top stitch all the way around, closing the opening and giving your hooter hider a nice finished look! If you zoom in, you can see where I stitched up from the top stitch to the edge at the end of the boning to hold it in place.

And now, you can nurse in public without exposing yourself!
Enjoy!