For my daughters first birthday party, we had a brunch... and I new I wanted to serve coffee, but I didn't want to run around all day looking for coffee cups, nor did I care to spend the money I figured it would cost to get them. So instead, I purchased a pack of $1 paper cups and a few pieces of $0.25 felt to create coffee sleeves!
First, using an old coffee sleeve, measure how large you will need your new sleeve to be (remember to leave a little overlap).
Make a new template out of paper. This shows that my new template was just smaller than the original. Also, make sure to taper one end so it will hide nicely when glued in place.
Pin your template onto your felt and cut.
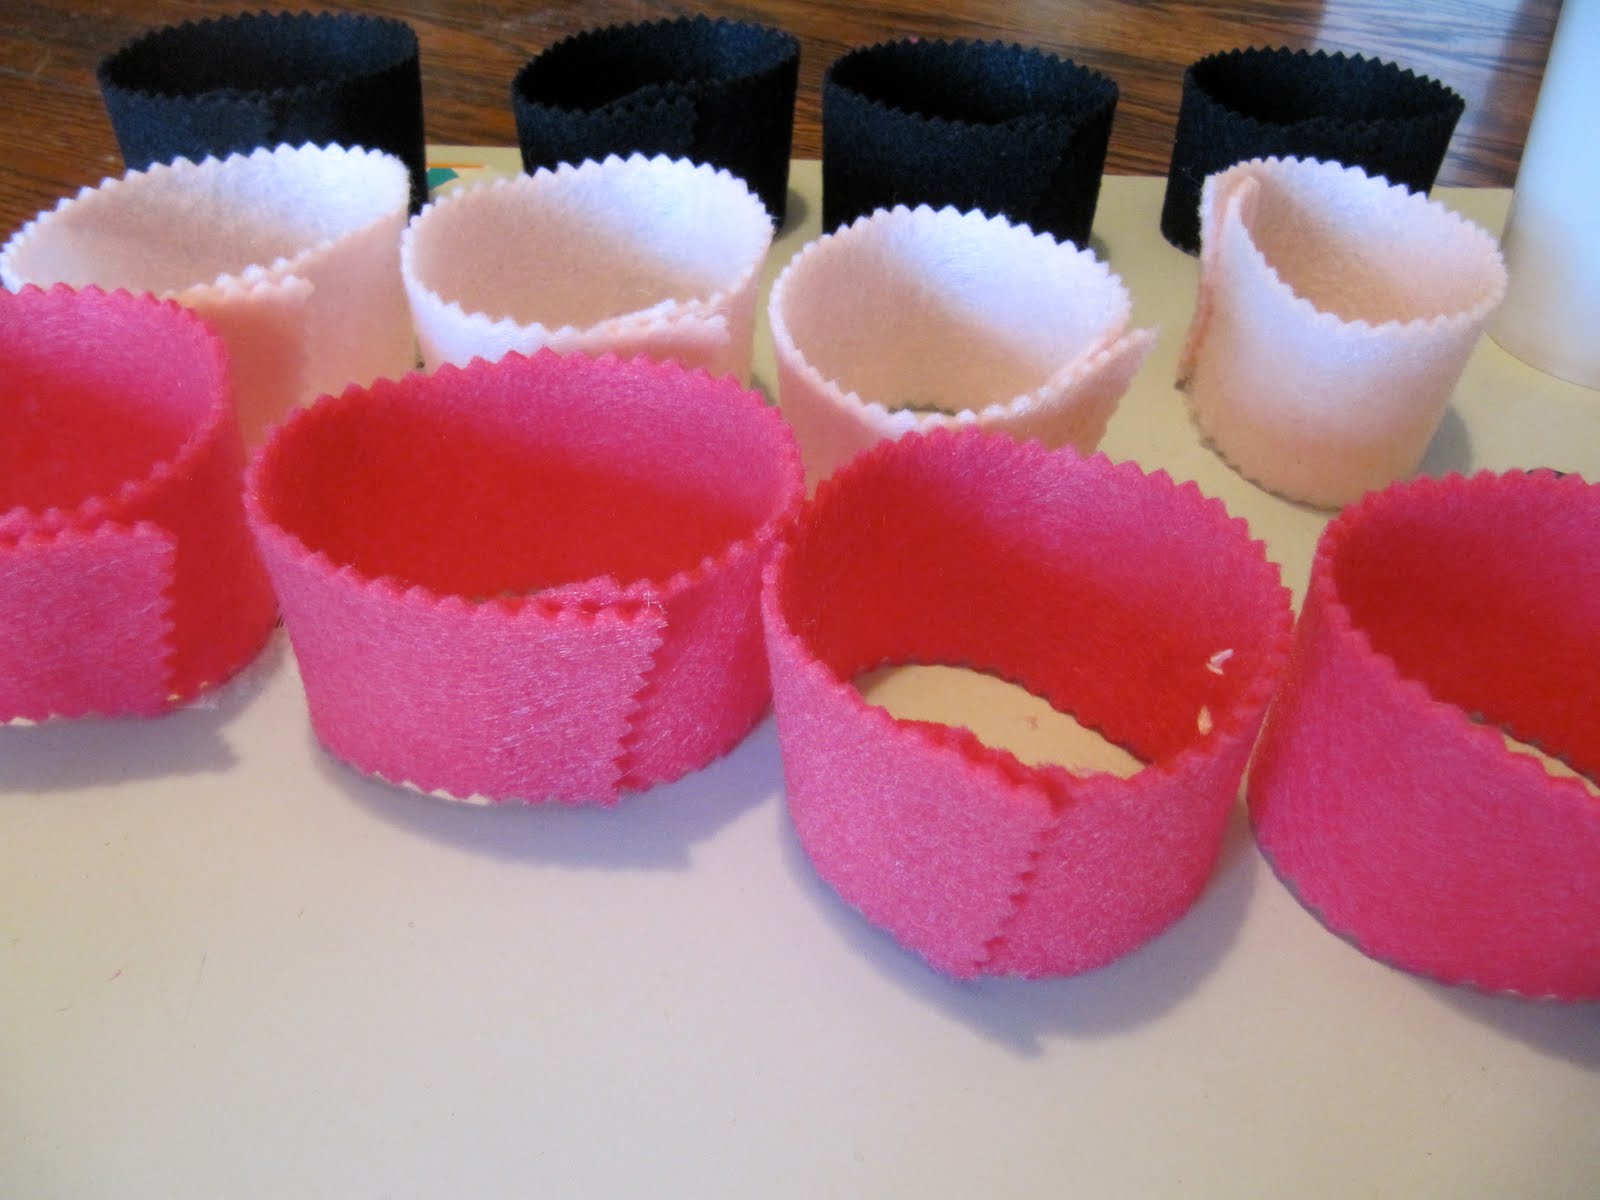
I did mine in a few colors.
I also cut them with pinking shears to give them a little more character.
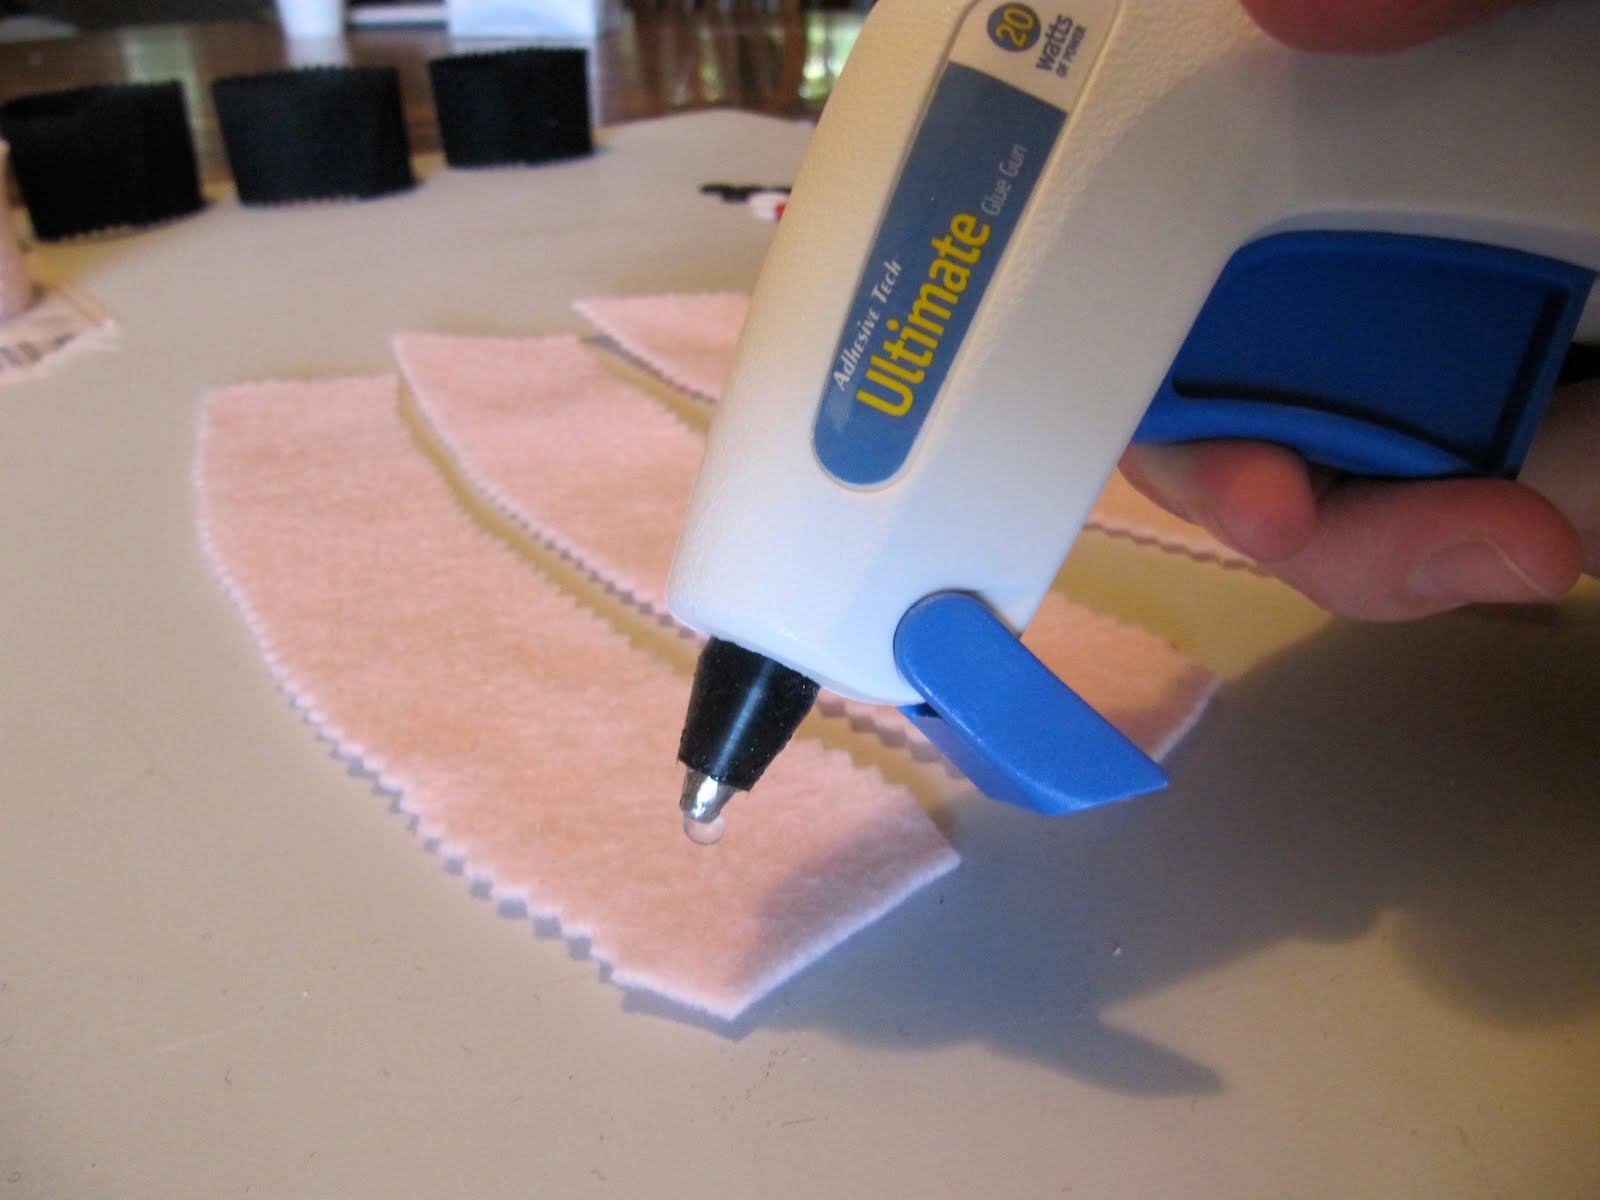
Apply a line of glue to the tapered end and then loop the other end around and create a little circle sleeve.
Once the sleeves are glued shut, add a little flare!
I used buttons and rhinestone stickers I had on hand.
Let them dry for a few minutes...
These are way cuter than the paper coffee cups with those funny little handles on the side!
A little army of coffee sleeves ready to protect hands from too-hot brew!
Have you entered the Abigail's Hope Designs Giveaway Yet? You still have time to check it out HERE until March 18. -----------------------------------
For anyone who knows me... you know that saying "I love coffee" is a super understatement... I think maybe there is coffee running in my veins! I enjoy a cup any time of day... and in any weather. I loves me some coffee. I brew my own coffee at home in the mornings and take it with me to work or enjoy it around the house... but if I am out running errands... and if there is money on my gift card... I really enjoy a specialty cup of coffee! If I know ahead of time that I will be going to a coffee shop and getting out of the car, I try to remember my travel mug so I get a discount and I save a paper cup. However, thanks to the convenience of drive-thru, I often end up using a paper cup. In my attempt to try to lessen the world of my own waste... and use less... I figured I would make my own coffee sleeve and keep it in my purse. Now at the drive-thru, I just inform the barista that I don't need a sleeve. Then when I get my steamy cup I slide my own sleeve on and enjoy a low-guilt treat!
These coffee sleeves have been popping up all over the internet... and I tried another variety before I settled on this idea. The first attempt (not pictured) used velcro... and I think with a few adjustments it would work... maybe a tutorial for next week... but the way I made it, it only fit the tall (small) cups and then sat too low on the grande (medium) and venti (large) cups. I needed something with some give to it... so after some internet inspiration... I came up with this:
Unfold (and tear open) the coffee sleeve so it lays out all the way flat. Use this as a guide to cut one of your fabrics. Give yourself about 1/2in. allowance all the way around. Use your first piece of fabric to cut your second. Iron the stabilizer onto the wrong side of one of the fabrics (follow the instructions on the package).
Pin your materials right side together. Pin your elastic in this step as well. The loop should be pointing towards the middle and should reach about 1 3/4in. in.
Leaving the short side that doesn't have the elastic open, sew around the edges of your sleeve using a 1/2in. allowance. Trim your corners and flip the sleeve right-side-out. Fold in the open side and pin in place.
Sew all the way around all four sides using a 1/4in. allowance. This will keep the sleeve stable and give it a nice finished look. Iron the sleeve again, which will set the other side of the fusible stabilizer. Sew your button in place about 3in. from the edge without elastic.
Slide your sleeve onto your next cup of coffee... and enjoy your "green" handy-work... and your tasty beverage!
I am a proud wife and mama! I love being with my family and friends. I spend my free time crafting, trying to live "green," cooking, and saving money. Here, you will find my ramblings on all the things I love!