Showing posts with label Make It. Show all posts

Tuesday, July 27, 2010

Make It: Diaper Grab and Go

There are a few things I wouldn't leave home without... and these days, diapers and wipes is one of those things. I don't always want to take my diaper bag with me though, so these little grab and go cases are perfect! I have a few of them... one for the car, one for the diaper bag (so I am not searching for a wrinkled diaper at the bottom of the bag) and one for church. There is enough room in these for a couple diapers, a little wipes case and even a little thing of diaper cream or a disposable changing pad.

Ingredients:
2 9x17 rectangles (1 inner and 1 outer fabric)
1 9x14 rectangle (either fabric)
1 9x17 rectangle of batting
1 9x7 rectangle of batting
2 inches of velcro
6 inches of ribbon or a scrap of fabric folded into a strap
assorted sewing notions

First, fold your 9x14 fabric in half over the 9x7 batting. This batting will stabilize the front of the pocket.

Stitch across the fold of the fabric, holding the batting in place and adding more stability. I like the look of two rows of stitching.

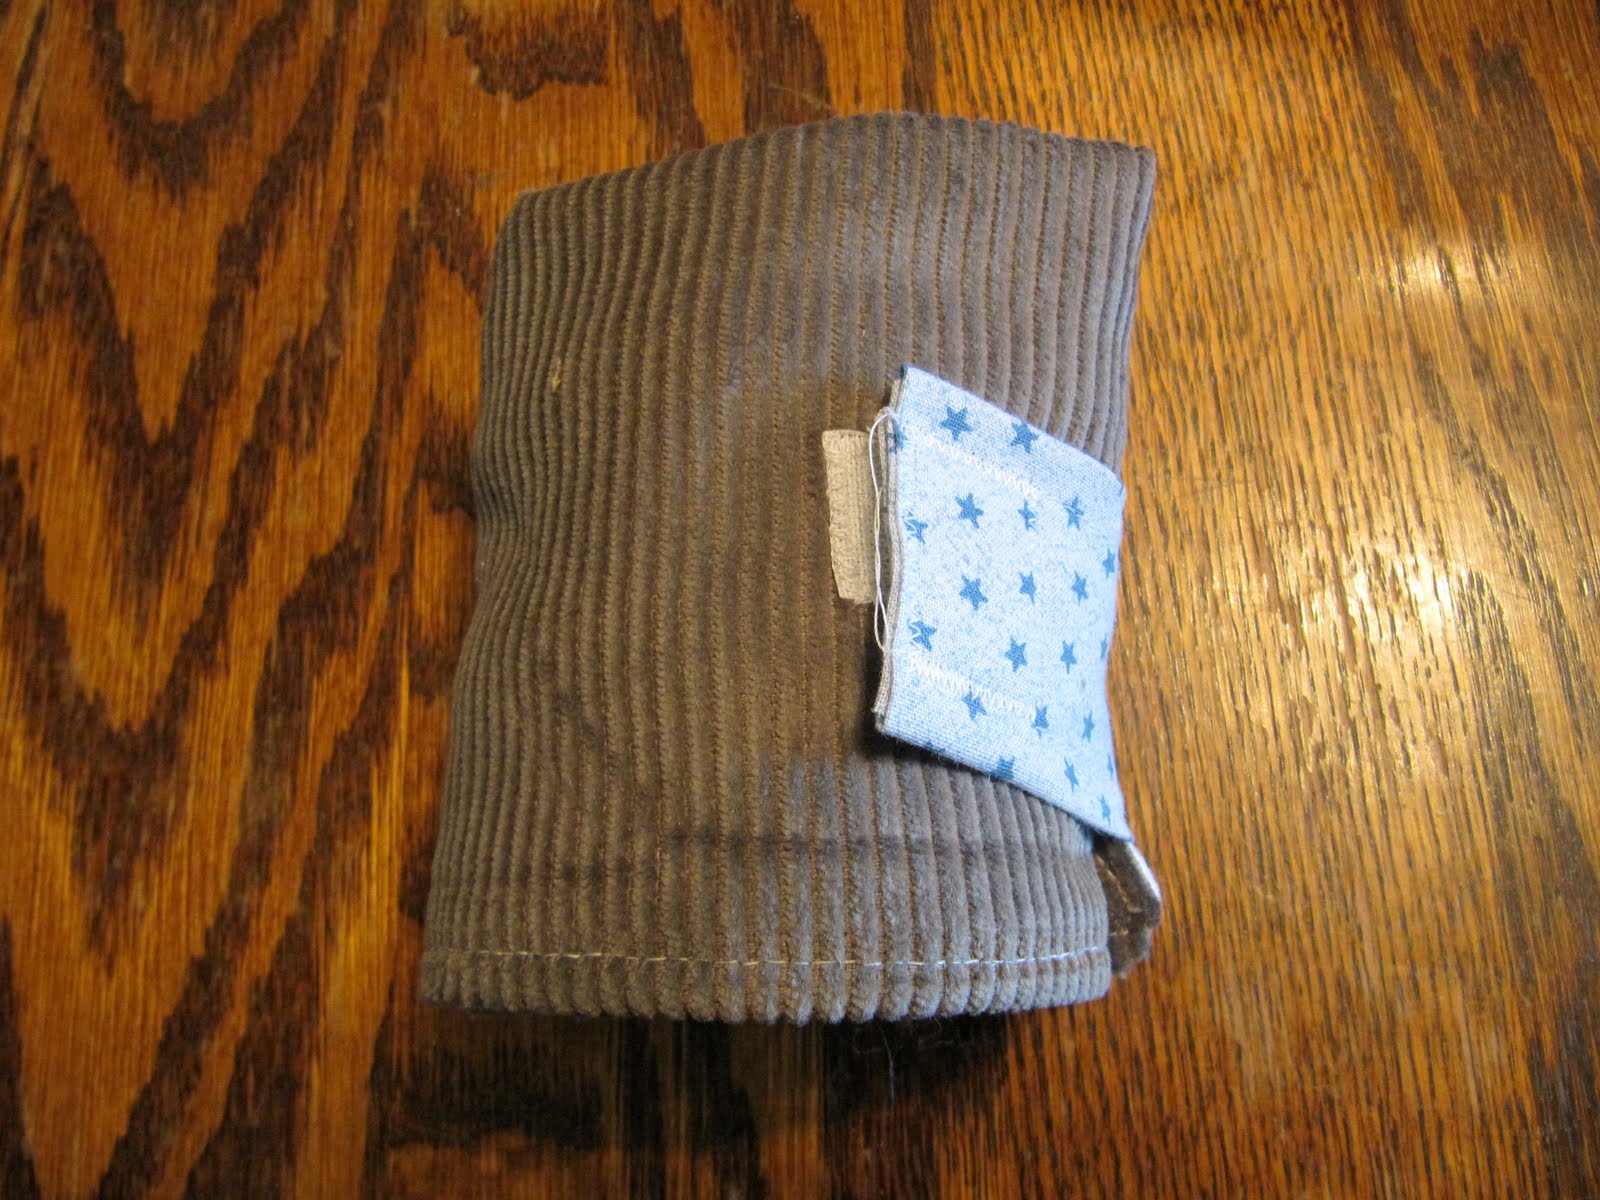
Attach your hook-side velcro to the center of this piece.

Next, place your inner 9x17 fabric on top of the 9x17 batting.

At the top of this piece, attach your loop-side velcro. Leave about 2.5 inches from the top of the fabric to allow for sewing and turning right-side out. Stitch this velcro lengthwise so you have lots of give when you close your pouch.

Next, layer everything together. It should go: batting, inner fabric, pocket (all face up), outer fabric (face down). Also, pin your ribbon with the fold facing in. This will become a little loop for carrying or hanging on a hook.

Top of the layer sandwich. Pin everything together.

Leave a 3-4 inch opening at the top of the sandwich and stitch all the way around.

Trim your corners.

Flip right-side out.

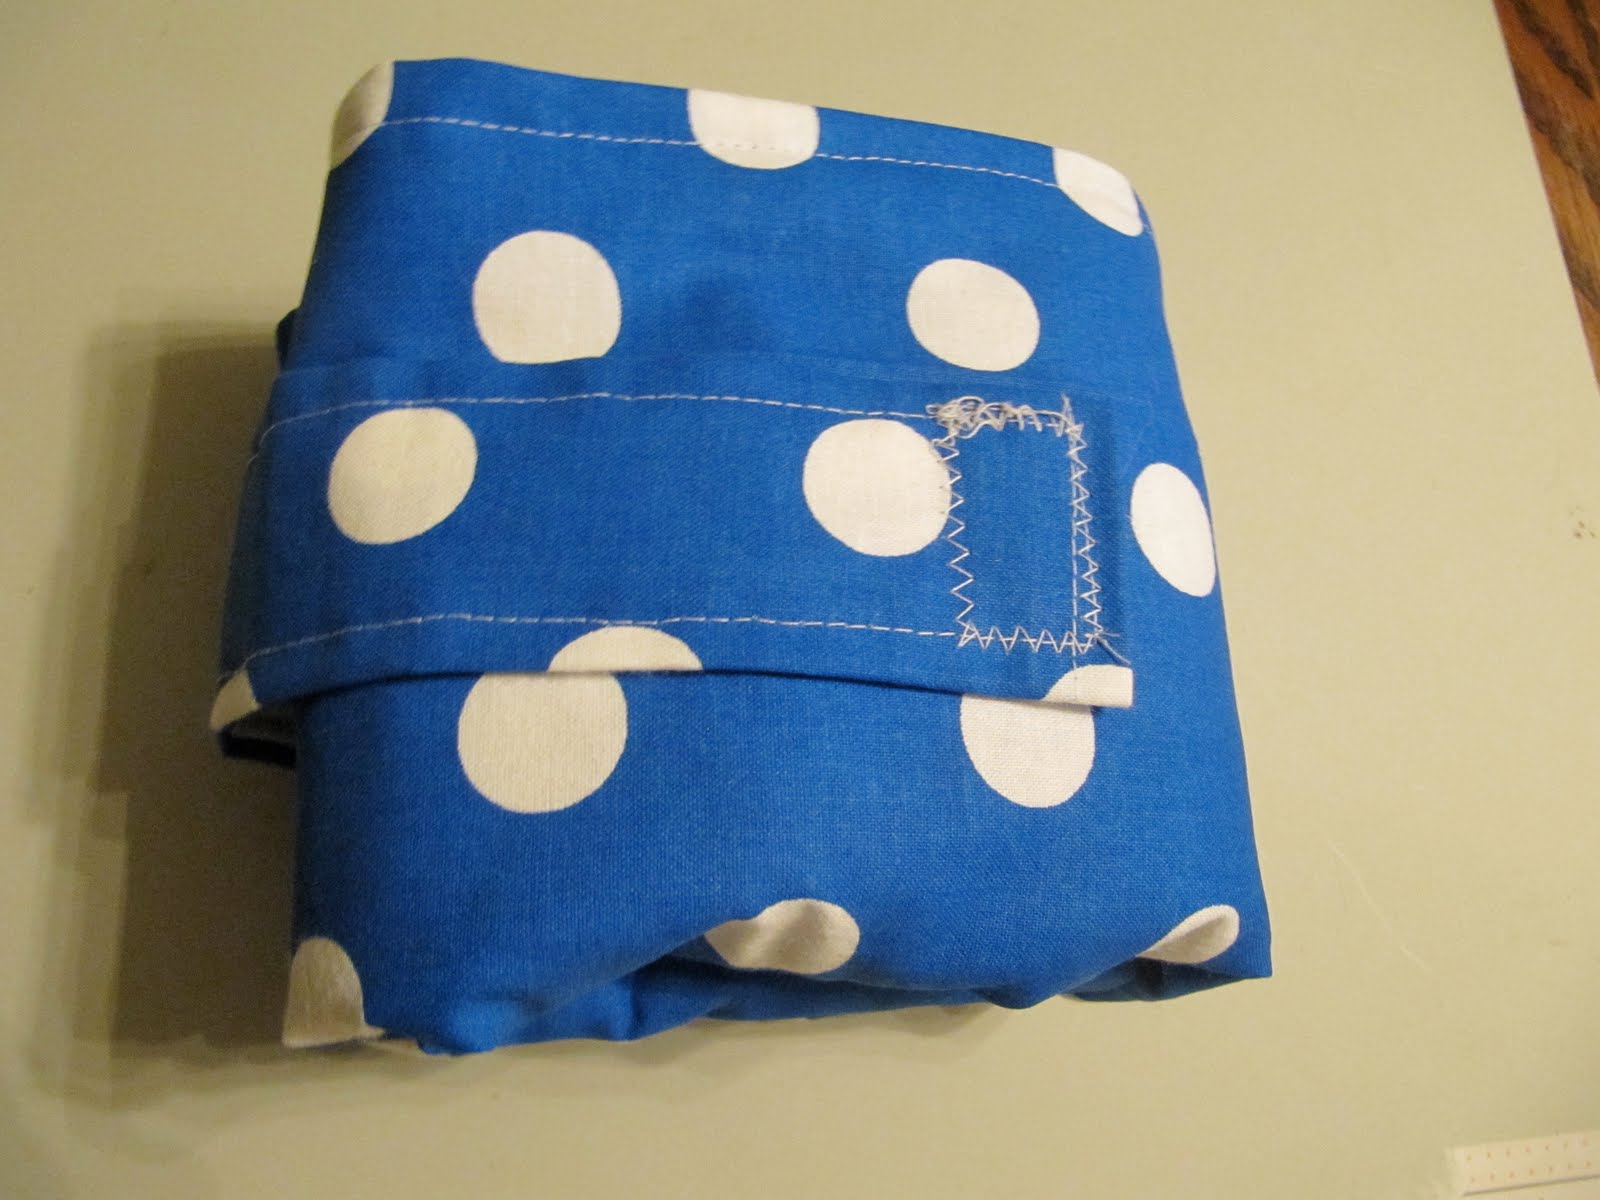
Catching your opening, top-stitch all the way around the whole case.

Insert diapers and wipes...

... and toss into your car, purse, diaper bag, wherever!

Make a few for yourself and a few to give to all your mommy friends!
Enjoy!

Tuesday, July 20, 2010

Make It: Variations on a Play Mat

Here are some variations on the Car-Cozy Play Mat I made...

This set has a note-pad and crayons... with room for stickers and a pencil too!

Here are some felt pieces with velcro on the back...

...that go together to create a jungle scene...

...for these little jungle play mat.

This sweet little train and railroad tracks...

rolls up with a cute corduroy on the outside!

What kind of play mat can you envision?
Enjoy!

Tuesday, July 13, 2010

Make It: Party Coffee Sleeves

For my daughters first birthday party, we had a brunch... and I new I wanted to serve coffee, but I didn't want to run around all day looking for coffee cups, nor did I care to spend the money I figured it would cost to get them. So instead, I purchased a pack of $1 paper cups and a few pieces of $0.25 felt to create coffee sleeves!

First, using an old coffee sleeve, measure how large you will need your new sleeve to be (remember to leave a little overlap).

Make a new template out of paper. This shows that my new template was just smaller than the original. Also, make sure to taper one end so it will hide nicely when glued in place.

Pin your template onto your felt and cut.

I did mine in a few colors.
I also cut them with pinking shears to give them a little more character.

Apply a line of glue to the tapered end and then loop the other end around and create a little circle sleeve.

Once the sleeves are glued shut, add a little flare!

I used buttons and rhinestone stickers I had on hand.

Let them dry for a few minutes...

These are way cuter than the paper coffee cups with those funny little handles on the side!

A little army of coffee sleeves ready to protect hands from too-hot brew!
Enjoy!

Tuesday, July 6, 2010

Make It: Car Cozy-Play Mat


I made this little play mat for a friend's son. My friend is having a baby and her firstborn will need something to play with while his mom is in the hospital. This little mat is a great toy/carrier and it folds up super small so she can toss it in her hospital bag and not have to worry about it taking up lots of space. This would also be great for vacation!

You will need:
11x19 piece of inner fabric
11x19 piece of outer fabric
11x19 piece of batting
9x19 piece of pocket fabric
assorted felt for road and play parts
1 inch velcro
6 inches ribbon
assorted sewing notions

Gather all your materials, and get a feel for how you want the mat to look.

Fold the pocket fabric in half lengthwise, and stitch across the fold. This just gives some stability to the pocket. I liked the look and feel of two lines.

Cut out and assemble the play road onto the inner fabric. Only use the top half of the piece. You can stitch the felt on or you can use hot glue.

Pin the pocket onto the play mat with the fold towards the top. Attach the pocket with a single stitch across the bottom.

Measure, and mark 3 inch pocket lines. Make sure your top and bottom marks line up. Stitch across these lines. Make sure to go over the top a couple times to secure the opening of the pocket.

Once the pockets are stitched, it should look something like this.

For the closure strap, you can use ribbon or a scrap of the fabric. Attach velcro to the strap. Pin it to the play mat.
Attach your velcro to the outside fabric. I measured mine at 9 inches in and 3 inches down. This lined up with inside velcro. Make sure to check your velcro to make sure it lines up before you sew... otherwise you might have a date with your seam ripper.

Stack batting, play mat (face up), outer fabric (face down) and pin together.

Stitch all the way around and leave a 4-5 inch opening. Trim your corners. and flip right-side out.

Top-stitch all the way around the whole mat. Make sure to catch your opening and seal it up.

Add some cars to the mat and you have a great little travel-friendly toy!

They roll up so nicely!

Enjoy!